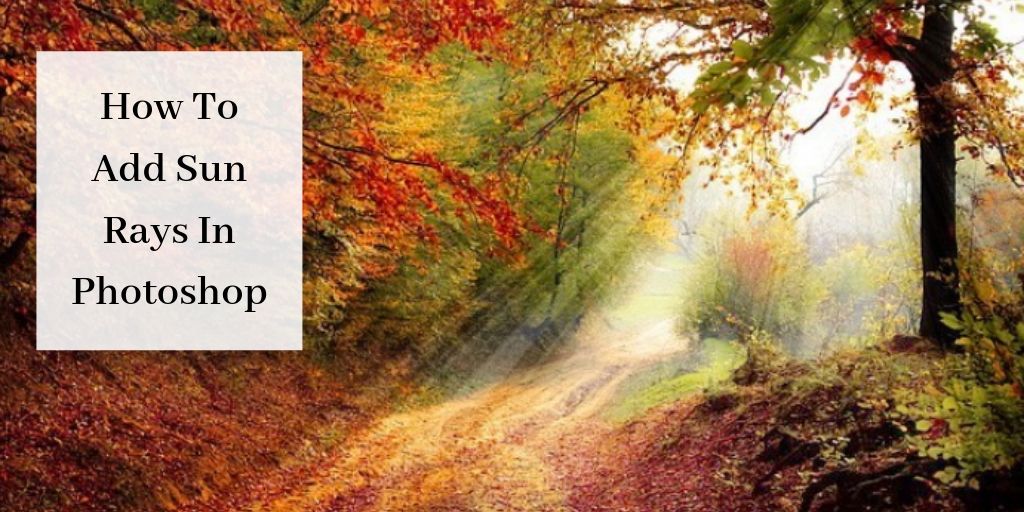
Have you ever taken an amazing photo, but the light wasn’t right? Perhaps, it was too flat or just needed some extra flair. Aren’t we lucky we have Photoshop?! In this tutorial, I’m going to teach you how to add sun rays in Photoshop.
Adding Sun Rays in Photoshop
Follow these steps to add sun rays to your photograph. This is the original photo I’ll be working with:
Create a new adjustment layer and select “Gradient.”
Now we’re going to play around with angles and style. Change the “Style” from “Linear” to “Angle.” Then click on the box next to “Gradient.” Mine is yellowish-green.
You’ll now see the Gradient Editor pop up. In the drop down menu, change the “Gradient Type” to “Noise.” Under “Color Model,” change “RGB” to “HSB, and move the slider labeled “S” all the way to the left. This will turn the photo to black and white.
Here’s what mine looks like:
Click “OK” on the Gradient Editor. The picture is now black and white. See the “Randomize” tab? It’s on the bottom right of the Gradient Editor. If you click on it, you’ll see the rays change. Continue clicking until you like the way they look.
Depending on your picture, you’ll also want to experiment with the “Roughness” percentage. It defaults at 50%, but for my photo, I changed it to 100%. Set it to the percentage you like.
It’s time to drag your “rays’ to where you want them. Place your cursor in the middle of the photo, and drag your rays to the position in the photo that will look the most natural. I want mind in the top, right-hand corner. Press “OK.” Mine looks like this:
Now change the blending mode from “Normal” to “Soft Light.” Adjust the opacity to your liking. You’ll see the “Opacity” drop down to the right of the blending modes. It’s automatically set to “100%.” Change it to the setting you prefer.
Working on your layer mask and with a fairly large brush, use the eraser tool to remove the sun rays that are falling on your subject. I’m going to leave my picture as is. If you have a person in your picture, you’ll want to remove the rays from their body.
Here’s my final product. I think it’s pretty impressive!
Watch the video below for a video tutorial of adding rays of sunlight in Photoshop.
To enhance and optimize your work flow, you can use Photoshops add-ons.
Key Points
Practice this technique on some of your favorite photos. Once you do it two or three times, you’ll be an expert. Make your photos that much better by adding in some warm, inviting rays of sunlight.
Did you like adding rays in Photoshop? Pretty cool, right? Let me know in the comments:)


I never thought you could add sun rays to an image, but I’m not very good at photography. Thanks for the tutorial. I would have thought that was impossible to add sunlight to a photo, and have it look real and natural. I will keep learning until I get better.
I’m going to play around with these steps to see if I can get the hang of it. Thank you!
I love that it’s possible to add sun rays to an image, and have it look natural. I love this technique, and it’s perfect on just the right photo. Give it a try!
I appreciate your comment.
This is a perfect breakdown. I used to over do it with the light and never could find a decent balance but with this guide I can walk myself through it better.
What risks do I run with increases in exposure? I really like soft light because it’s so soft and it is great for sun rays obviously.
Thanks so much for sharing this tutorial.
Thanks for reading and commenting Kira. I’m glad you found my tutorial helpful.
You can lighten the picture afterwards if you want to increase the exposure. I like soft like too, and it really is perfect for adding sun rays to your photos.