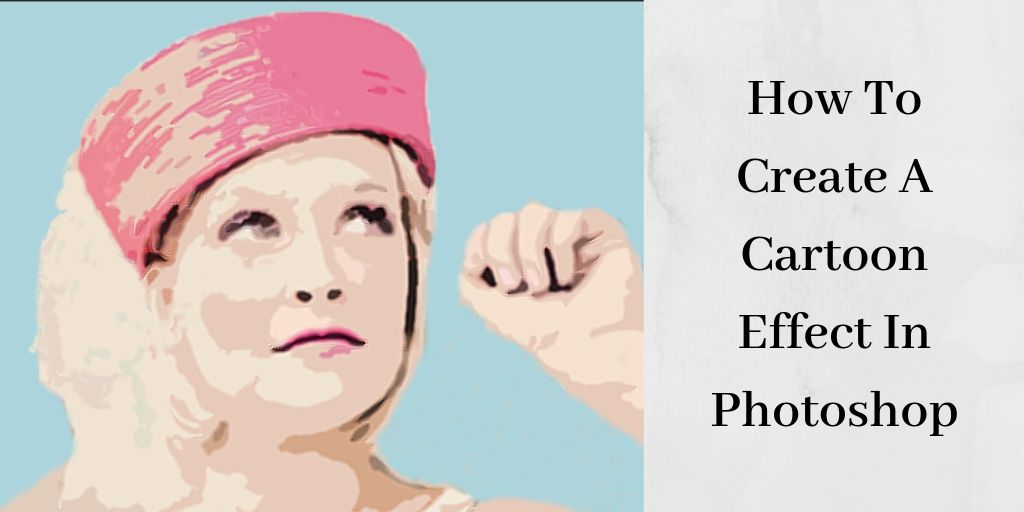
Photoshop is amazing for creating all sorts of cool effects. You’re in the right place if you’ve always wanted to learn how to create a cartoon effect in Photoshop. Although, several steps are involved, once you do it two or three times you’ll be a pro. Let’s get started.
Creating A Cartoon Effect in Photoshop
Begin by choosing an image you’d like to turn into a cartoon. Then select the Quick Selection tool or hit “Command,” then “W” on your keyboard. Outline the perimeter of the subject in your photo. Do the best you can. Here’s what mine looks like:
Go to “Select and Mask” at the top of the screen:
You’ll see this screen. In the top, left-hand corner, select the Refine Edge Brush Tool or select “R” on your keyboard:
With the tool selected, I’ll select the areas in between her body and arms. When finished, output to a new layer. The setting is at the bottom on the right. Press “OK:”
I’m naming my new layer “1st Filter Layer.”
Now go to “Filter” and “Filter Gallery” in the top menu:
Select the “Artistic” tab, then “Poster Edges.” Here’s what my settings look like:
Play around with the settings with each image you do a cartoon effect on. I set the “Edge Thickness” to 6, the “Edge Intensity” to 1, and the “Posterization” setting to 5. Press “OK.”
Now you’ll want to create a “New Effect Layer” by going to the bottom of the screen, in the right-hand corner. It’s to the left of the trashcan icon:
Select “Cutout” in the “Artistic” editor. See my settings below:
Set the “Number of Levels” anywhere from 3 to 7, the “Edge Simplicity” from 1 to 3, and the “Edge Fidelity” to around 4. Click “OK” and select the layer you first created. Mine is called “1st Filter Layer:”
Right click on the layer to duplicate it. I’m naming mine “Diffusion.” I now have three layers in my layers’ palette. Go to “Filter,” “Stylize,” and “Diffuse” in the top menu:
Make sure the “Anisotropic” setting is checked and press “OK.”
I’m now going to select my “Diffusion” layer and duplicate it. The keyboard shortcut is “Command” and “J.” I’m naming my layer “Sharpen Edges:”
Go to “Filter,” “Sharpen,” and “Sharpen More” in the top menu:
Hide the background layer my clicking the “eye” icon on the left. Create a “New Adjustment Layer” below the layers palette, and choose “Solid Color:”
Select a color for your background and press “OK.” Drag the layer with the color on it underneath your filter layer:
Select your top layer and duplicate it. I’m naming my new layer “Toning.” Press “OK:”
Right click on the new layer to convert it to a “Smart Object.” You’ll see a little box in the picture on the layer after you convert to a smart object.

In the top menu, go to “Filter,” “Pixelate,” and “Color Halftone:

Make sure the “Radius” is set to 7 or 8, and leave the other settings as they are. Hit “OK:”

Change the “Blending Mode” to “Soft Light,” and the opacity to anywhere from 30 – 50% . I’m setting mine to 40%:

Select your top layer, right click, and click “Merge Down or “Command” and “E” on your keyboard:

Go to “Fx,” “Blending Options,” and “Stroke” and set to around 25 under “Structure.” Make sure the color is set to white and press “OK:”

Create a “New Adjustment Layer.” Under “Vibrance” adjust the setting to around 23 and the “Saturation” anywhere from 7-10:

Hit “Close.” That’s it. I hope you’re happy with your image that is now a cartoon. I’m happy with mine.
If you’re interested in more Photoshop tutorials, check this out.
Key Points
Creating a cartoon effect in Photoshop is a lot of fun. There are several steps involved so the first time can be confusing, but once you do it a few times, you’ll get the hang of it…
Have you made cartoons in Photoshop before? Let me know in the comments:)


One of the most intriguing articles I have ever read. You made my day with this article as I have been learning how to make a cartoon effect in Photoshop. Getting to read this article has just made things quite easy for me and I am very happy. Thanks so much for this wonderful information.
Thank you. I’m glad you enjoyed my tutorial. Have fun creating the cartoon effect!
Great walkthrough! I do a lot of photo posting for my blogs, but have always wanted to be able to give my photos the cartoon effect. I’ve always felt they would give the pics more personality and zing! You’ve done me the great favor of walking me through the process and now I can start to make all my pictures with an animated effect! So cool!!!! Thanks for the post and the quality content, I look forward to seeing more work from you in the near future Have a nice day!
I’m so glad my post was helpful. Creating a cartoon effect is a lot of fun. Have fun and thanks for taking the time to leave a comment!
Hi! This sounded intimidating at first. And reading about all these steps that must be followed may discouraged some. But I have gone over to Photoshop and tried it by myself. It’ll take 3 – 4 attempts, I believe, to start feeling comfortable. But I can say from the start, it’s not difficult. All you need is patience and persistence. Thank you for sharing this post.
Awesome. I’m so glad you tried it. Creating the effect can be intimidating at first. I totally agree. It takes a few times to get a comfort level with it.
Thanks for leaving a comment!